Workshops
With step-by-step guidance from Joelle Webber, create a folded box that can be used to beautifully present your photographs & more.
Dates:
Dec 14, 2024 - Dec 14, 2024
Levels:
Beginner,
Intermediate,
Advanced,
Workshop Fee: $185
Workshop Duration: 3 hours (Saturday, 1-4pm ET)
Workshop Location: Online
Class Size: 12
Note: This workshop will be held in a live, online format utilizing the Zoom platform.
Class meets on Saturday, Dec 14 from 1-4pm ET.

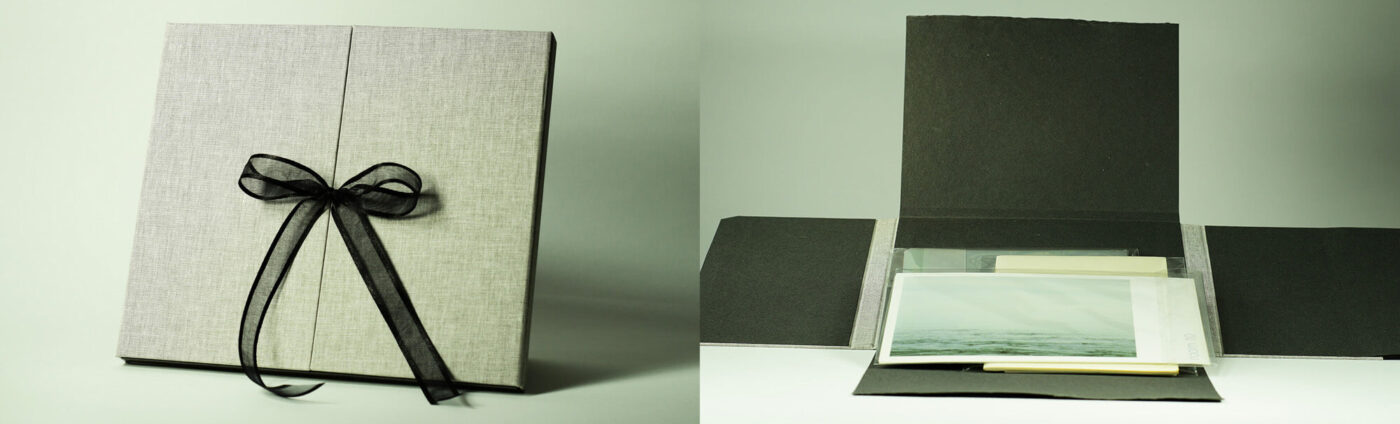
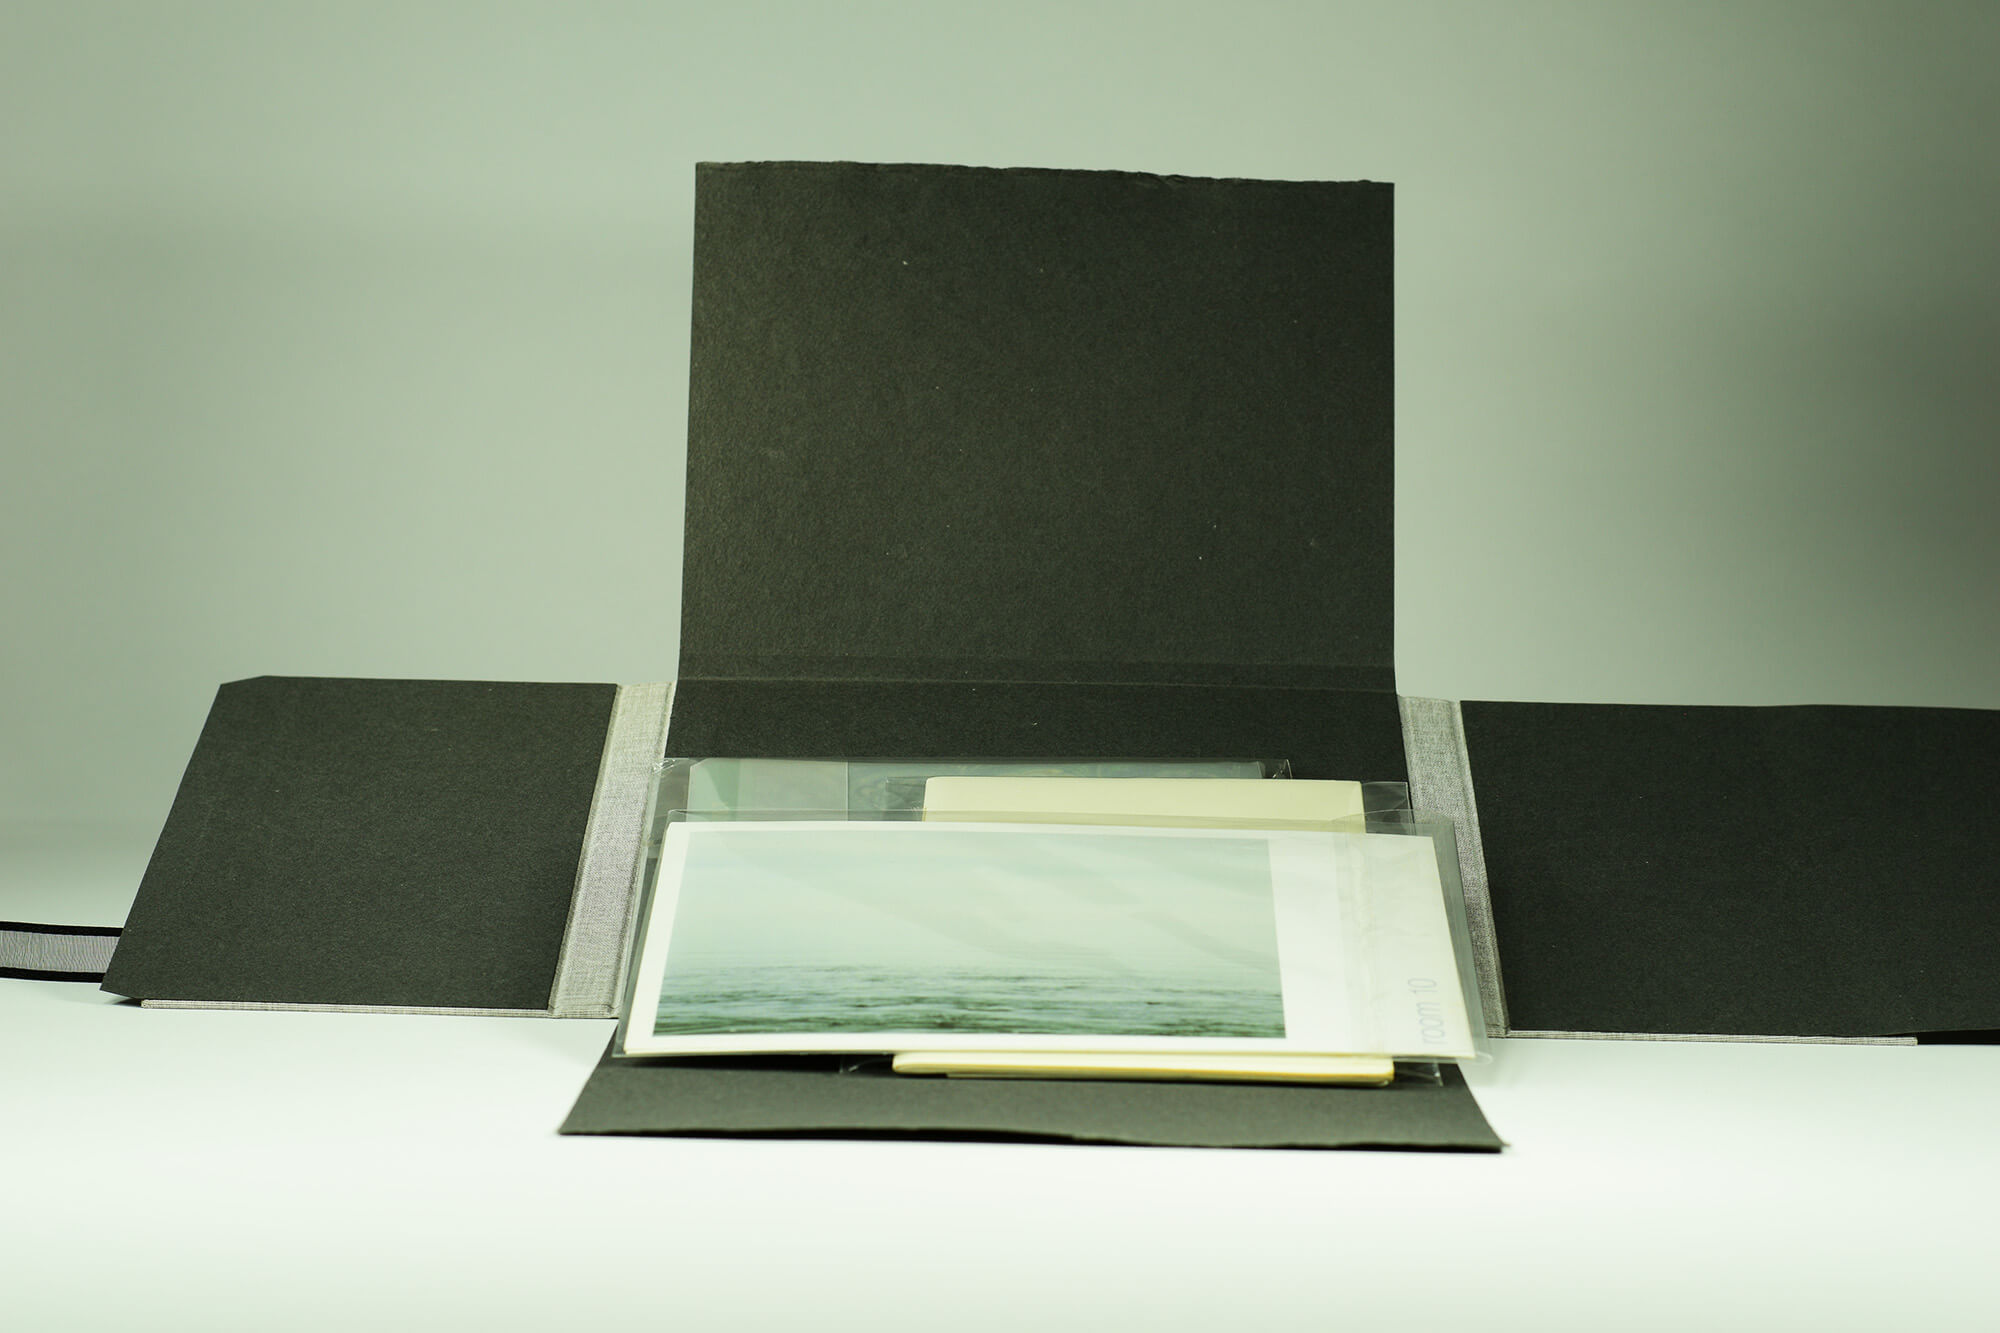
The Folded Folio Box is a great structure to collect photographs, prints, ephemera, and books, oriented vertically or horizontally. A wonderfully rich presentation box that, when paired with your work, creates a compelling comprehensive work of art.
Watch Joelle Webber as she creates a folded box designed to protect a collection, with a series of four flaps that artfully fold in. Bound together with traditional hinging techniques along with a unique closure. This box design can be tailored to the size and number of items you would like to protect and present.

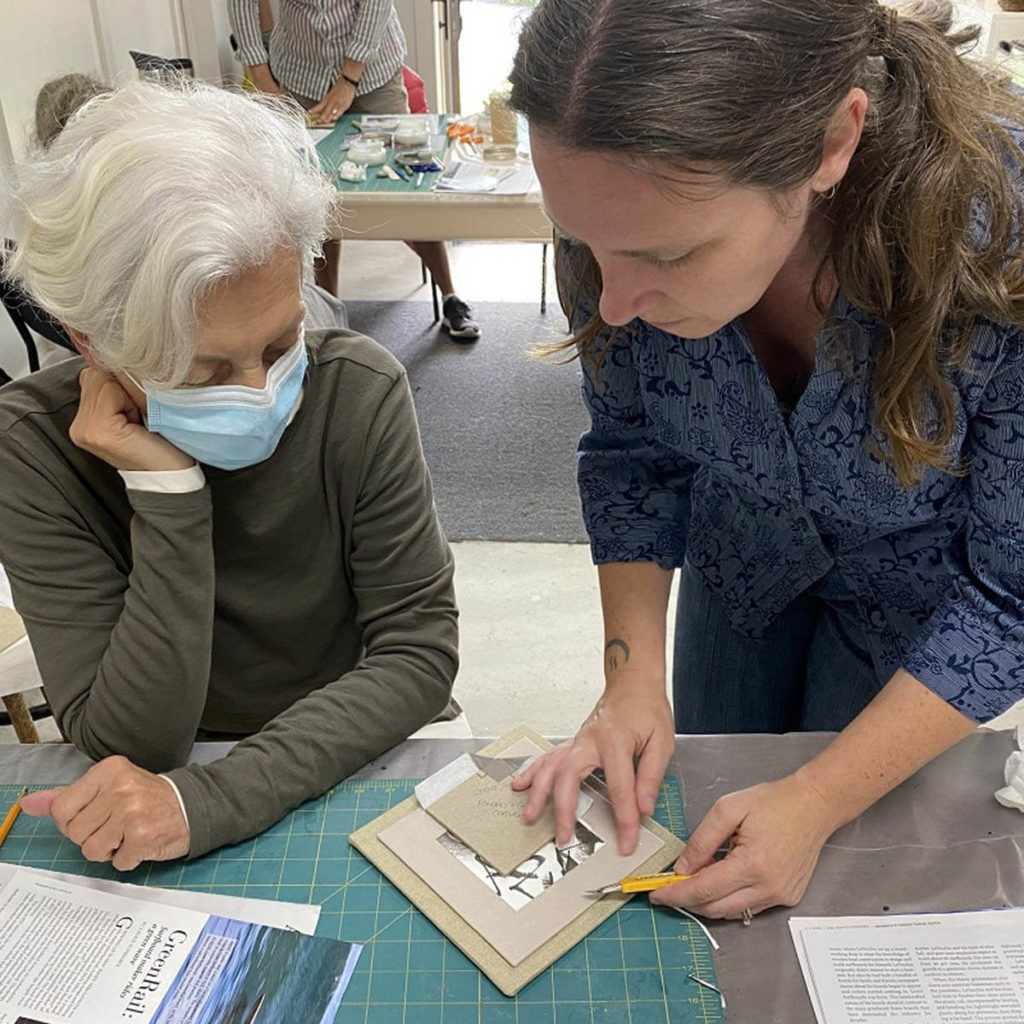
In this class, we will learn the importance of material grain, archival materials, and ‘measuring from the reality’. Binding the box will include creating a spine-gap jig for consistent hinging, tips to glue out tricky papers, how to wrap book board with book cloth, and other techniques to complete this archival protective box. This workshop also comes with step-by-step Class Notes, including Suggested Material Links and Tools Needed.
In this 3-hour class, Joelle will describe the process in detail, encouraging students to ask any book arts related questions. Joelle has been learning in the book arts for over 40 years and working as a binder for over 25 years. She has many tips to set yourself up for success in your binding projects.
Note: The session will be recorded and the link will be shared for a month beyond the class.

Suggested Materials List
The links to these suggestions are to help you understand the weight of the materials needed.
- The collection of work you want to build your box around.
- Interleaving (optional): https://www.talasonline.com/Satin-Vellum-Paper. Satin vellum paper. The 30 lb is less likely to dimple, leaving white marks.
- Inner box papers: https://www.talasonline.com/St-Armand-Colored-Papers. Sturdy, but pliable cover weight paper that does not crack when folded.
- Book Board: https://www.talasonline.com/Davey-Binders-Board?quantity=1&size=930&thickness=28. The .07 is plenty thick for smaller items – get a thicker board for bigger projects.
- Book cloth: https://www.talasonline.com/fabrics-and-leather/bookcloth. I would suggest a paper-backed fabric like Asahi, Cialux, Duo, or Iris.
- Box closure: https://ribbonbazaar.com/solid-grosgrain-ribbon/p/Grr3zQz8sDjKkwNGrVGH7. Grosgrain ribbon holds up best. Also, look in your local fabric and craft stores.
- PVA glue: https://www.talasonline.com/Jade-711.
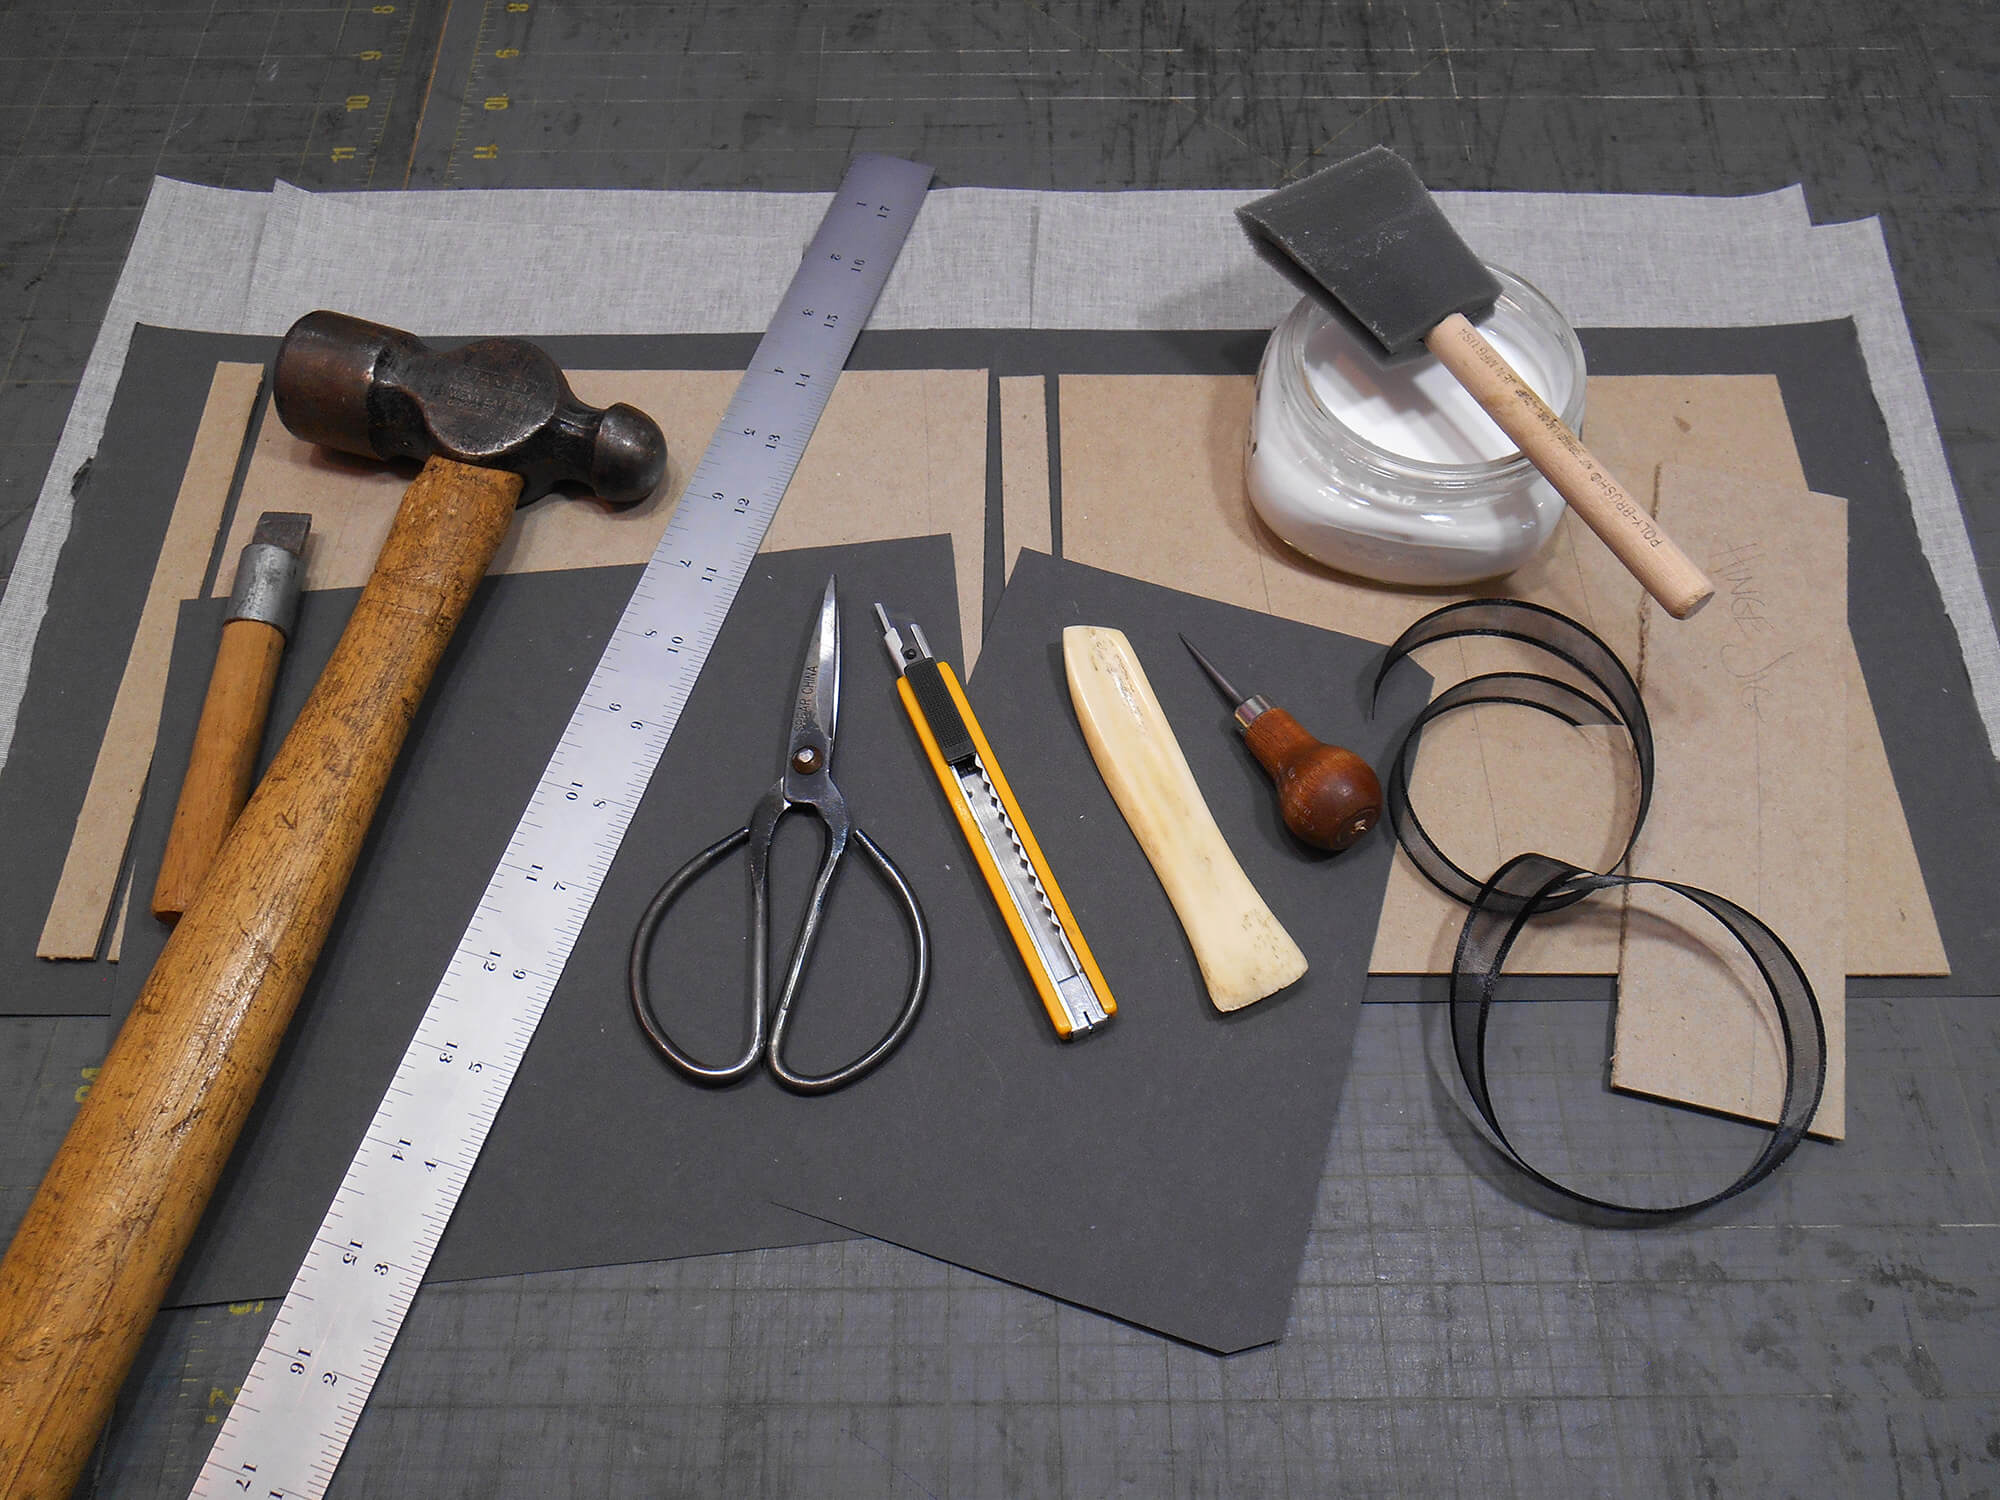
Tools required
- cutting mat
- ruler
- retractable blade
- pencil
- awl
- bone folder
- paper knife
- glue brush
- waste glue papers (glossy magazine)
- wax paper or cooking parchment paper
- scissors
- chisel the same width as your ribbon
- hammer
- waste board (a soft pine or many layers of book board)
Images by Joelle Webber.
Share This
Instructor: Joelle Webber
Joelle Webber has been making books & boxes for 40 years. At Mermaid Bindery, on Westport Island, she offers original artist books, binding services for fellow creators, handmade crafts in her roadside shed, and workshops for several communities.